# Connecting to PRISM
# Step 1 – Creating credentials with PRISM portal
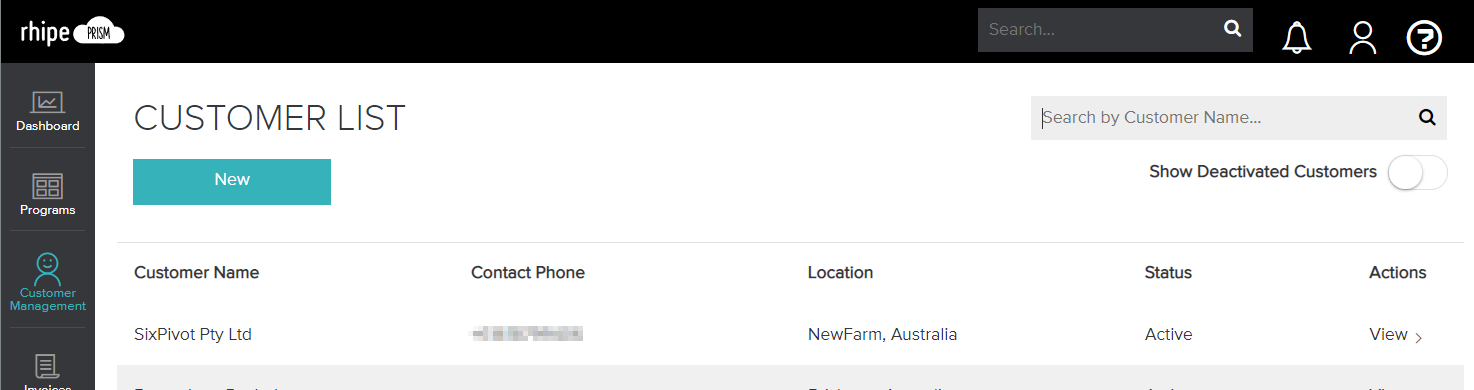
Navigate to the PRISM Portal (opens new window). Once in the PRISM portal select the Customer Management menu item from the left-hand side. The first customer in the list will be your company, denoted by your company name.
From the customer details screen select Manage Client Credentials from below the customer details. You will be presented with an option to Generate Client Credentials.
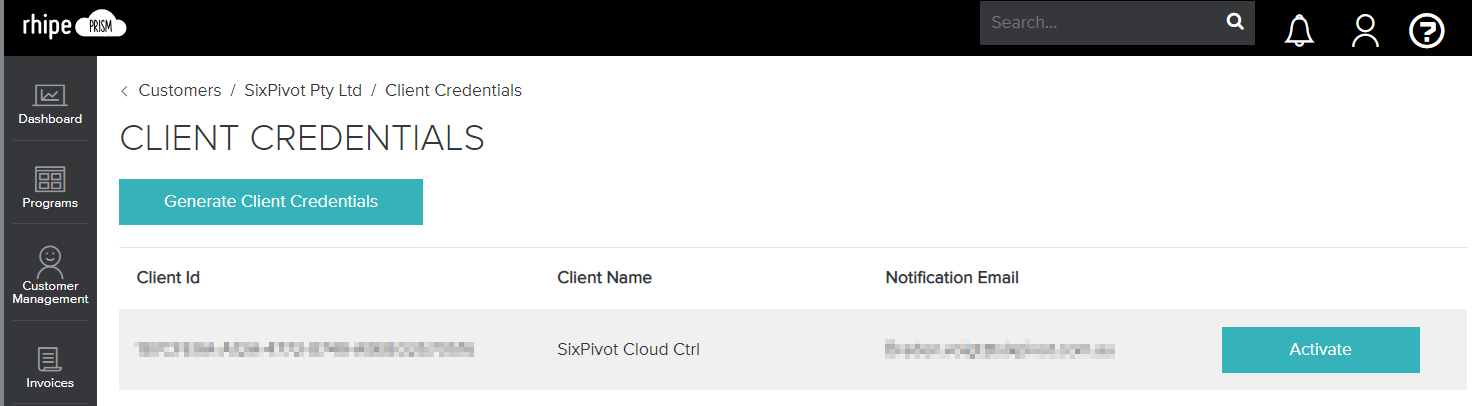
Complete the form giving the client a name, something meaningful such as Cloud Ctrl Integration. The named is relevant only in that is will assist you understanding what the credentials are used for at a later stage. The email address for the client is the email address that PRISM will send notification on. This email address is not linked to Cloud Ctrl and does not need to be the same as the registered user account.

Once the Client ID and the Client Secret are created be sure to save them in a secure location such as password management software or copy them to somewhere temporary, these are required by Cloud Ctrl during the next steps. Once added to Cloud Ctrl and confirmed correct these are no longer required.
# Step 2 – Connecting Cloud Ctrl
Login to Cloud Ctrl and navigate to the (1) Click on your tenant name and select (2)Settings, then select (3) Azure then (4)+ ADD on the right-hand side and select (5) Rhipe.

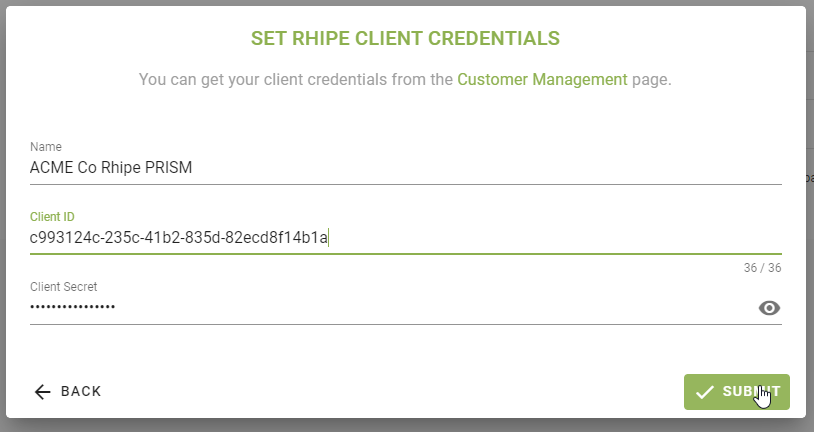
Please enter a friendly name for the cloud account and then enter the Client ID and Client Secret from Step 1. Once the credentials have been entered (and validated) please click Submit to save the details and create the new cloud account.
Once submitted a download of your usage will be queued in Cloud Ctrl, it may take several hours for the first import to complete.