Setting up Azure Cost Management Exports
DEPRECATED
This guide is for legacy reference only. For new setups, please use the updated guides:
- Azure Setup Overview — consolidated setup steps
- Standard Export Setup (EA, MCA, PAYG) — recommended export configuration
- CSP Export Setup — automated CSP export configuration
The instructions below may be outdated and reference old UI navigation paths.
Learn how to set up Cost Management Exports reports in Azure, so you can sync your Azure data to Cloud Ctrl.
1. Create a Cost Management Export report in Azure
Cost Management Export reports are available for various Azure account types, including Enterprise Agreement (EA) and Microsoft Customer Agreement (MCA) customers. The prerequisites for this process are available from the following Microsoft page here
This process is the same for any of the three types of export, 'actual', 'amortized', or 'FOCUS'. Currently Cloud Ctrl only supports importing 'actual' type CME exports.
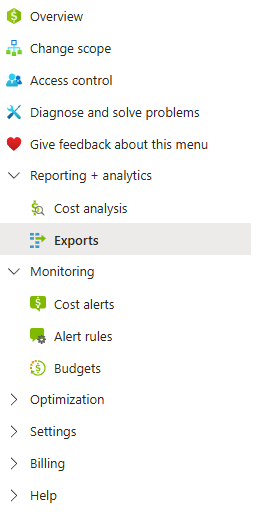
To start creating a new (or edit an existing) Cost Management Export, search for 'Cost Management + Billing' in the Azure portal. From there, navigate to Cost Management -> Exports.
Choose or change to a billing scope that includes all (or some) of the subscriptions that you want to gather usage data from.
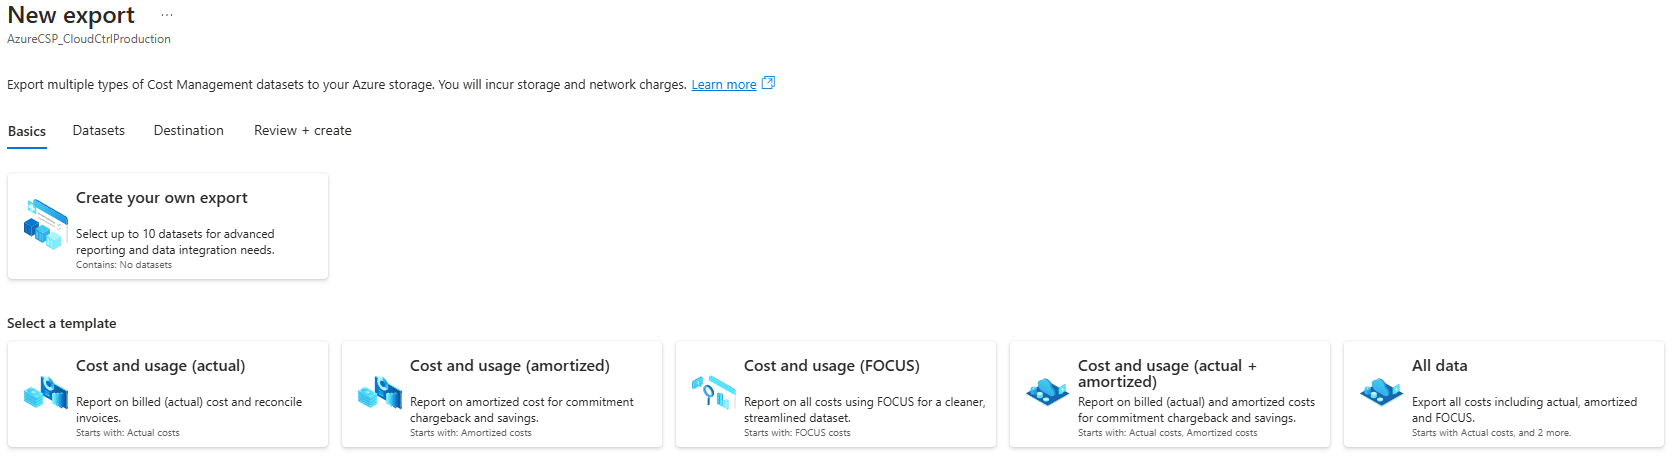
Select 'Create' and then the 'Cost and usage (actual)' template to setup a new export.
Note: The export must be the "Cost and usage (actual)" template. This may not be available on all subscription types.
Specify a name prefix for the export report. The setup will automatically add the type of export being created to end of the name. This name can be edited later.

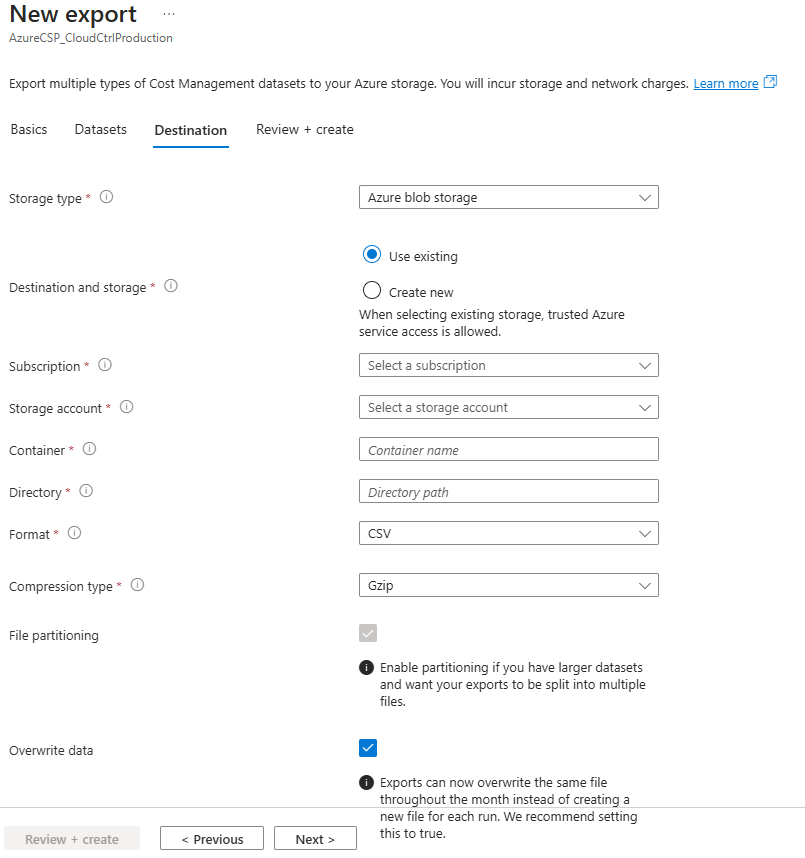
Next, specify the destination (Blob storage container) for where the export reports will be created by Azure. This is the location where Cloud Ctrl will ingest the export reports from. It should be located in a subscription that is able to be accessed (through trusted Azure service access) by Cloud Ctrl. It does not have to be located in the same subscription as any the subscriptions that are being exported. You will need to make a note of this location; the details will be required when you create the connection in Cloud Ctrl.
Ensure that 'CSV' format is choosen, as well as Gzip compression for the export. Please note that it may take 24 hours for the first CME report to be created by Microsoft in the destination location.
Important: When creating the export, ensure you select the option to overwrite old reports. This is crucial for maintaining up-to-date data in Cloud Ctrl.
Once complete, the export report should appear in the list of exports under the choosen billing scope.
2. Register an application and create a role assignment
Microsoft Entra ID Applications are identities that you create and control within your own Microsoft Entra tenant and can be granted privileges on the resources that you specify. These applications have their own login credentials and are intended to be used in code, such as in Cloud Ctrl. The application identity and role assignment created in this step, will allow Cloud Ctrl to access the destination subscription (and storage account etc.) specified in step 1.
Cloud Ctrl uses the Microsoft Entra ID Applications to connect to the Azure Resource Manager and gather metadata and metrics from your subscriptions.
For all these steps, Microsoft have published documentation covering the process in the Azure Portal. View the Microsoft Documentation
Collect the Tenant ID
- Log in to the Azure Management Portal using tenant admin credentials.
- From the search bar at the top of the screen, type 'Entra' and select Microsoft Entra ID.
- Select Properties from the list.
- From the properties screen, copy the Directory ID. This is your Tenant ID.
Register a New Application
- Navigate to the Manage section of Microsoft Entra ID, then click App Registrations > New Registration.
- Enter a Name for your application.
- For Support Account Types, leave the default.
- For User Redirect URI, leave the default.
- Click on Register.
- Copy the Application ID after successful registration. This is your Client ID.
- Generate the client secret
- Go to Manage > Certificates & secrets
- Under Client Secrets, click New client secret.
- Add a Description for the secret and select an expiration period.
- Click on Add.
- Copy down the Client Secret Value that is generated as this cannot be displayed again. (==Important!==)
Assign Permissions
You must assign two roles with different scopes:
A. Assign the Reader Role
This allows Cloud Ctrl to read subscription metadata and export configuration.
Scope: Assign at the highest scope possible (Subscription, Management Group, or Billing Account) that includes the exported subscriptions.
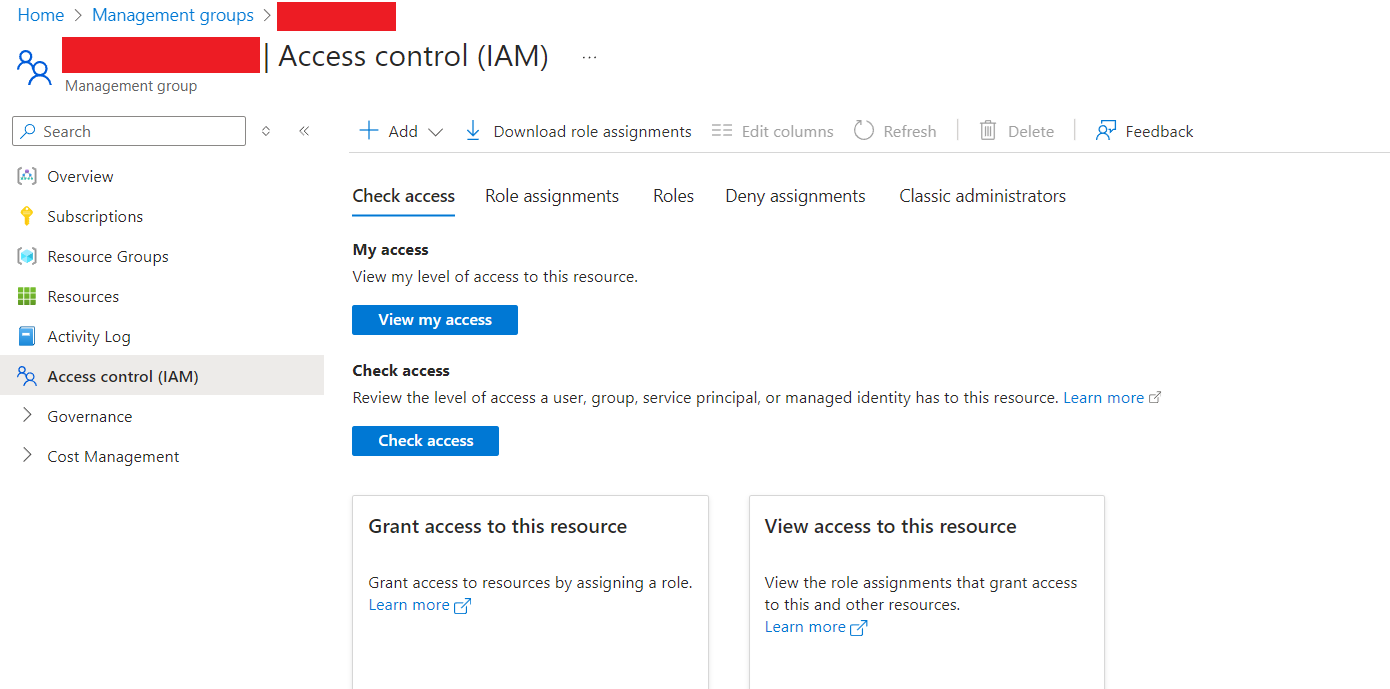
- Go to the scope in Azure Portal (e.g. subscription or management group). We recommend assigning to management groups which you can find here. Select the subscription or top level management group that you specified as the destination for the automatic Cost Management Export.
- Open Access Control (IAM) > Add role assignment.
- Choose:
- Role:
Reader - Assign access to:
User, group, or service principal - Select: your registered app
- Role:
B. Assign the Storage Blob Data Reader Role
This grants read access to the blob container storing the Cost Management Export files.
Scope: Assign only at the container level (not subscription-wide).
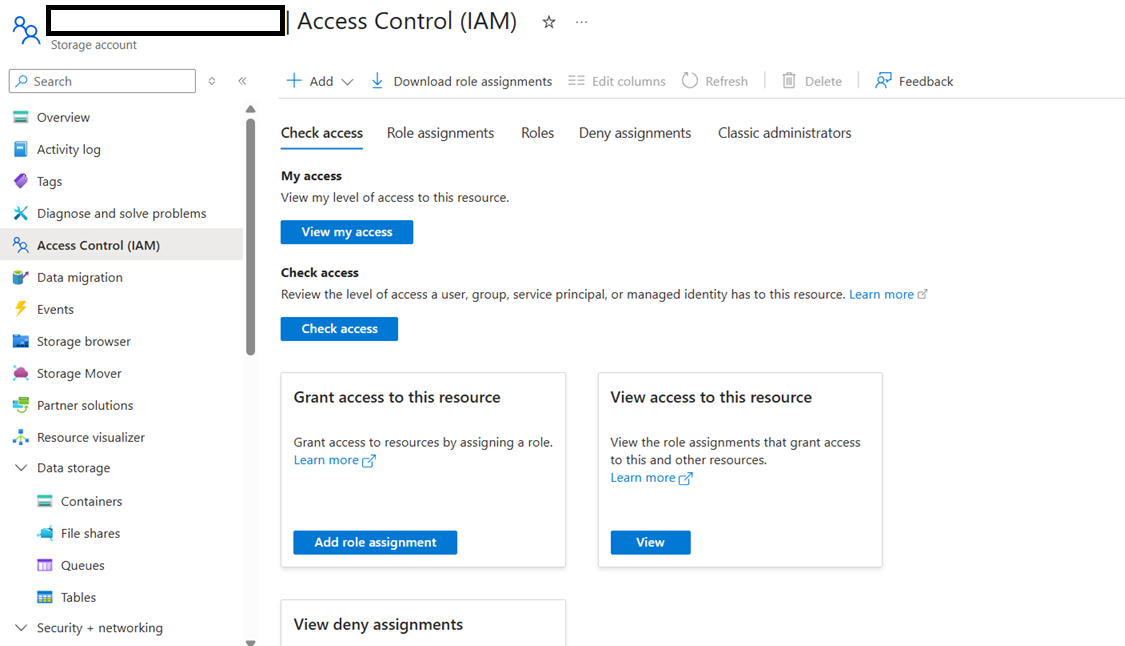
- Go to the Storage Account > Containers.
- Open the target container.
- Click Access Control (IAM).
- Add a role assignment:
- Role:
Storage Blob Data Reader - Assign access to:
User, group, or service principal - Select: your registered app
- Role:
⚠️ Do not assign StorageBlobDataReader at the subscription or resource group level to avoid over-permissioning.
3. Add a Credential and Cloud Account in Cloud Ctrl
Updated Process
The Cloud Connections setup process has changed. Credentials and Cloud Accounts are now managed separately under Settings → Cloud Connections → Microsoft Azure. For the latest instructions, see the Standard Export Setup or CSP Export Setup guides.
To start importing usage data for Microsoft Azure Cost Management Exports:
- Go to Settings → Cloud Connections → Microsoft Azure
- Click + Add Credential and enter your App Registration details (Tenant ID, Client ID, Client Secret)
- Click + Add Cloud Account, select the credential, and enter the Storage Account, Container, Directory, and Export Name details
4. Enhanced Azure Access
Once your credential has been added, you can assign additional Azure permissions to unlock features such as recommendations, savings plans, and reservations reports.
See Enhanced Azure Access for instructions on assigning the additional permissions to your existing App Registration.